Hello fellow crafters!
Today’s adventure is creating a rubber stamp – in this case one for Bureikou Studio’s – with Sparky the Spark. This process works for the Spark’s big sister the Aura, as well. Before we get started you might want to get a drink, grab a snack and put on something in the background, as this takes a bit! (I’ve linked some products I found helpful/use below, they are not affiliate links, to help you out. Searching the endless web is at times frustrating.)
Step One – Creating Your Design: When creating the design for a rubber stamp your design should be white and the background should be black. When your using a vector program (Illustrator, Inkscape, Affinity Designer 2, etc.) you can select your black background shape and than select your white design and use the “Subtract” function and it’ll remove the design from the background. (Tip: If you have script text make sure to “add” or “weld” them to each other so that they engrave correctly). You will also want to horizontally mirror your design, so that it’ll have the correct orientation when being used.
When I created my cut line I duplicated my background shape twice (we will run the cut settings twice, you can also do one cut line and just hide the engrave and run the cut as needed) before I subtracted and set the fill to nothing and choose a different stroke color for each one.

Once you have your design compeleted you’ll want to export your image as a PDF.
Step Two – Settings: Import your newly created PDF into the Glowforge dashboard per usual. I use this 0.09″ thick stamp material from Amazon but there are several laser safe ones out there. The settings below are for the ones I use but they seem to be pretty usual give or take a bit.
| Cut (x2) | Engrave |
|---|---|
| Speed: 20 | Speed: 60 |
| Power: 10 | Power: 10 |
| Passes: 10 | LPI: 270 |
| Passes: 4 |
* You can do three cut runs if you don’t want to punch out your stamp.
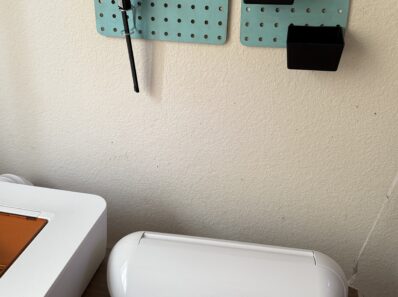
It took one hour and twelve minuets (1:12) for Sparky to print the logo stamp (below), the good part is you can always pause the print if you need to leave the room. It does make a mess with the ash from the stamp material. My $10 Amazon mini hand vac is my best friend for all things Glowforge or other and it the perfect size for small tasks such as this.

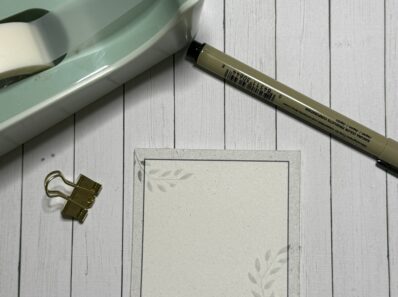
Step Three – Mounting Your Stamp: There are a couple of ways to mount your newly created rubber stamp. The traditional way is to mount it to craft foam and than mount it to a wood stamp base. I have unused acrylic stamp blocks lying around and came across a forum post saying to apply a thin layer of Aleene’s Tack-It Over & Over to the back of the stamp, let it dry and than you can stick it to the acrylic block (they sell a special cling foam for this purpose as well)! This allows you to have a bunch of rubber stamps without all the bulk!
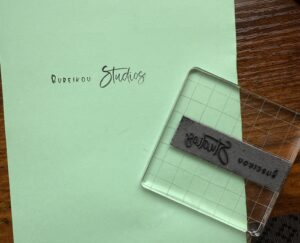
Step Four – Stamp Away!: Get yourself some fun colored inks (traditional black is good too) and have fun using your new rubber stamp!
It is a bit of a time consuming project. Do I still think Sparky is magical? Absolutely! If you have any questions feel free to ask them in the comments and I’ll do my best to help!
Happy Crafting!