Have you ever wanted to create your own memo pads? It’s not as difficult as you may think and you only need a few things:
- Rubber Cement or PVA glue.
- You pre-cut sheets of your design. You can purchase the design above in the shop!
- chipboard for the backing.
Unfortunately I don’t have any photos for the step-by-step process but I will describe it in detail to you.
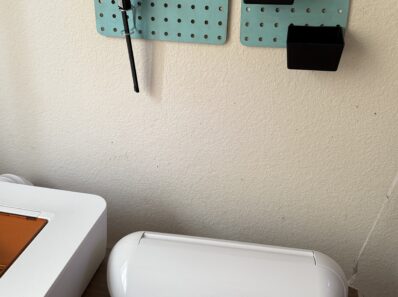
- Print and cut out your design and backing chipboard. I did this with my Silhouette Portrait 3 but you can do it with another cutting machine and even by hand. The design I used is for the mini 3×3” size.
- Stack up your pages with your backing piece and a scrap piece on the front to catch any stray glue.
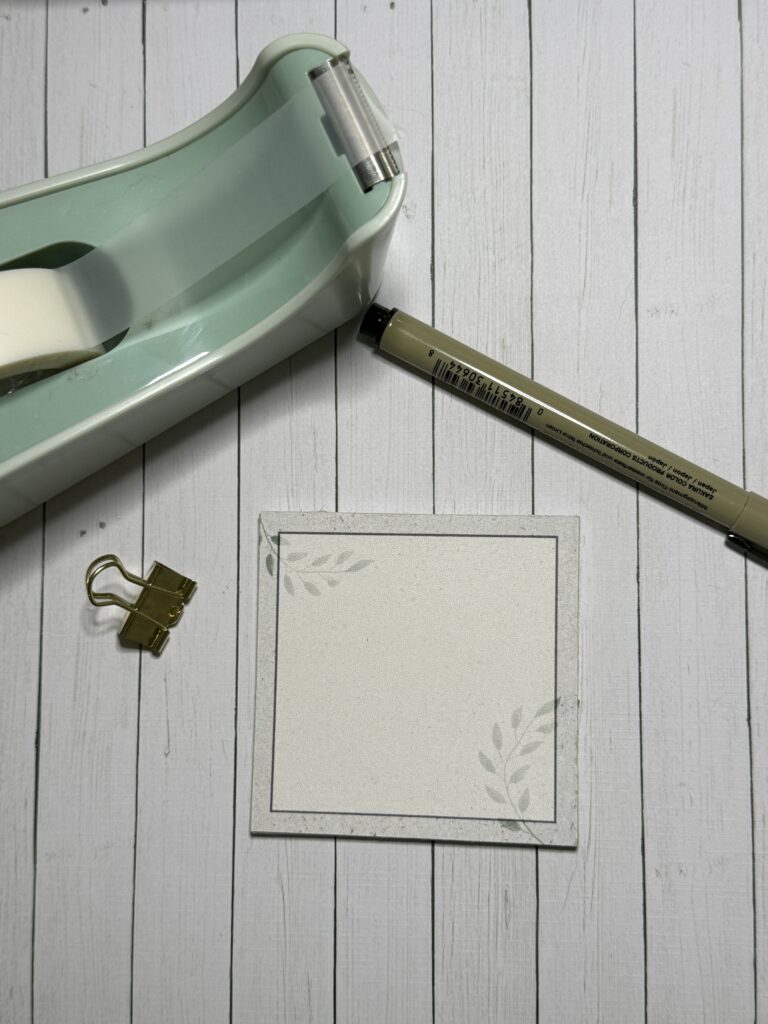
- Make sure they are all flush with each other and keep them in place with binder clips.
- The final step is to cover the side that will be the spine with either rubber cement or PVA glue. Once it’s dry you can peel of the scrap paper that is covering the front and remove the binder clips!
Viola! Now you have your own memo pads!! You could even use restickable glue along the back top of each sheet instead of gluing the spine and than you’ll have sticky notes.